How to setup Webshare with ixBrowser
What is Webshare?Webshare is a leading proxy service provider offering secure and efficient proxy solutions, including residential proxies and data center proxies, tailored for web scraping, SEO monitoring, ad verification, and market research. Its residential proxies leverage real-device IPs to ensure high anonymity, effectively bypassing geo-restrictions and anti-scraping mechanisms, while data center proxies deliver high-speed, cost-effective performance for bulk data processing. With global IP coverage, Webshare supports both rotating and static IP modes, complemented by user-friendly tools like API integration and browser extensions for seamless proxy management. Catering to both small-scale projects and enterprise needs, it provides flexible subscription plans that balance performance and affordability.
Webshare guarantees high stability, low latency, and a strict no-logs policy to safeguard user privacy, alongside free trial options and transparent pricing to lower entry barriers. Developers, data analysts, and marketing teams can efficiently execute tasks such as cross-regional SEO ranking tracking, competitor price monitoring, and ad content verification. Its ease of use, scalability, and 24/7 technical support make it an ideal tool for enhancing online anonymity and compliance, empowering businesses and individuals to maintain competitiveness in data-driven decision-making.
Before starting
Before we begin, it’s important to get some proxies. We’ll need these later in the tutorial. Webshare is a great option because it offers 10 free premium proxies to anyone who signs up. You don’t even need to provide your credit card information.

To get started, go to the Webshare website and create an account. Once you’re signed up, you’ll receive your free proxies. To see their details navigate to the "Proxy List" section on your dashboard. These proxies come with 1GB of bandwidth per month and you can choose from multiple countries.
If you need more proxies or bandwidth, you can also explore Webshare’s paid plans. But for now, the free plan is enough to get you started.
How to set up a single proxy in ixBrowser?
Setting up a proxy in ixBrowser is easy. Just follow these steps to get started.
Step 1: Download and Install ixBrowser
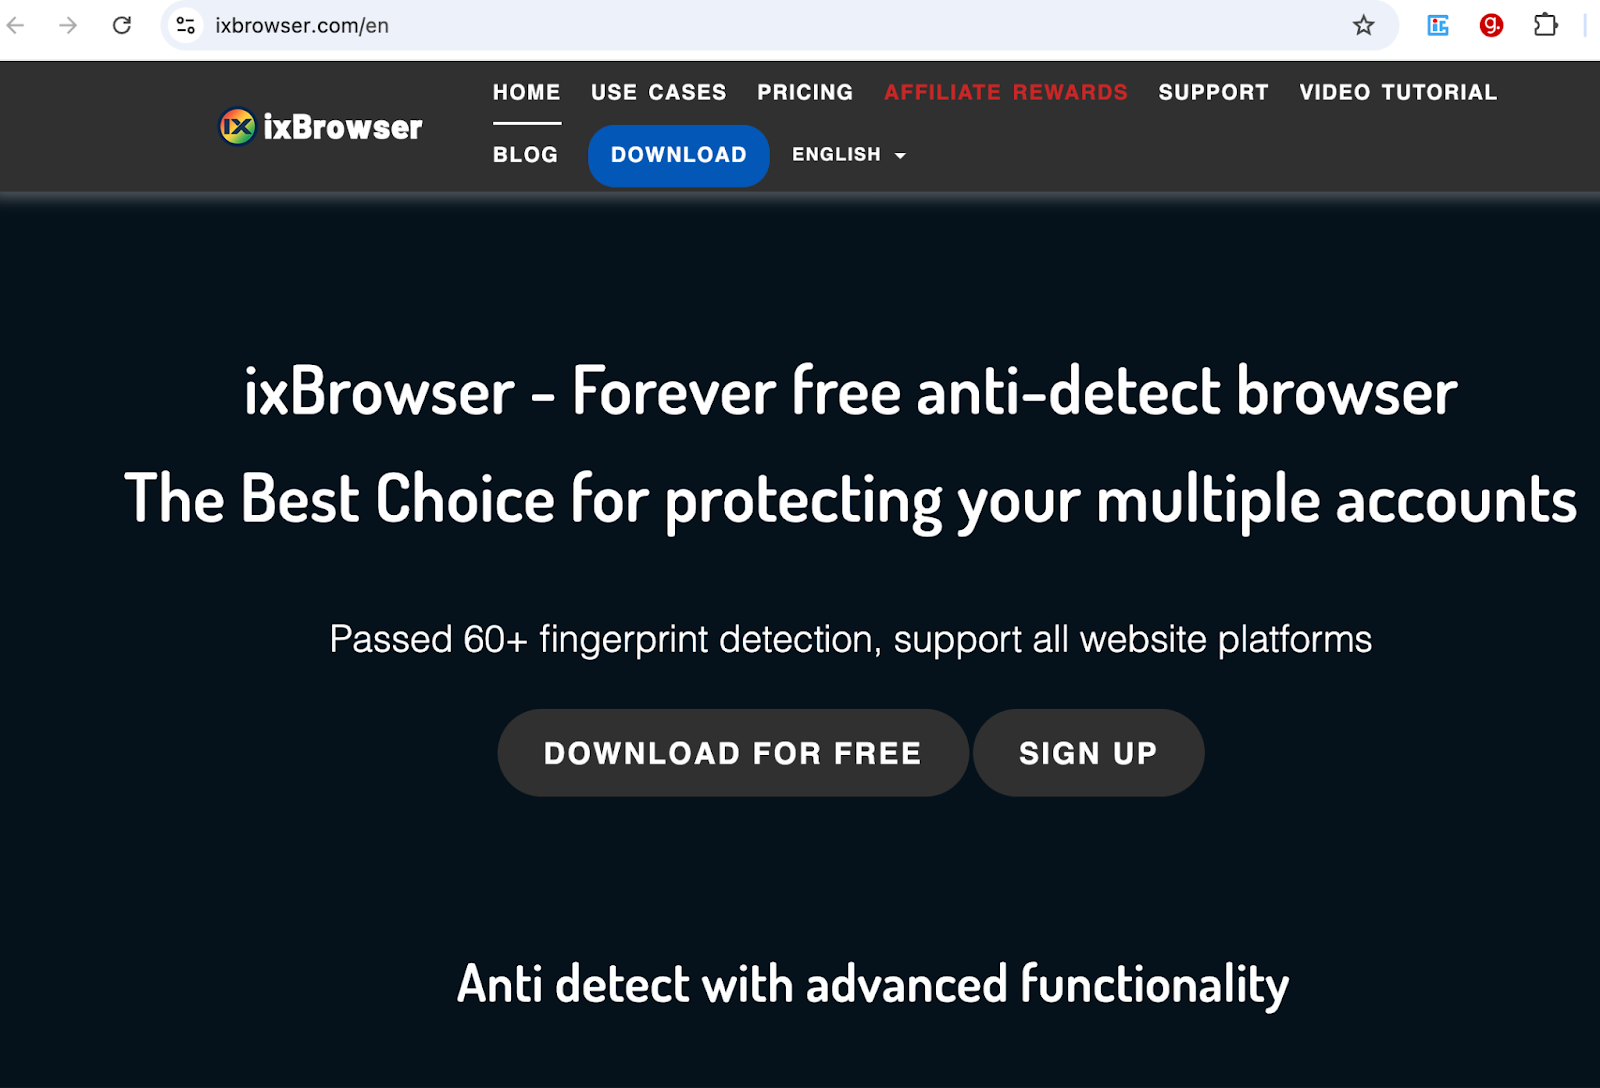
Go to the ixBrowser website and click on the Download button. This will download the .exe installer to your computer.
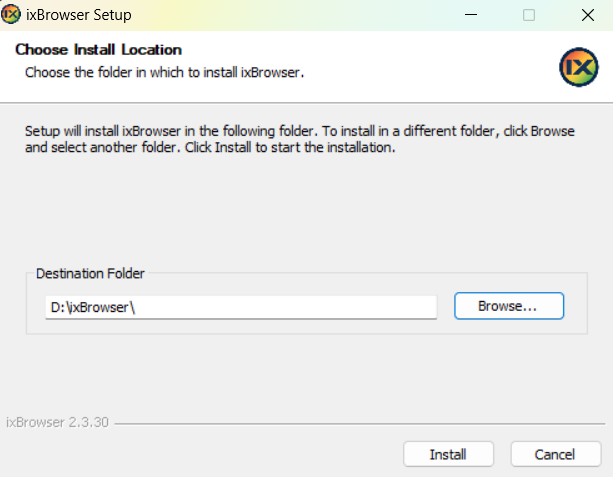
Locate the downloaded installer and double-click on it. Then, choose your preferred installation path and click on the “Install” button to start the installation process.
Step 2: Create Your Account
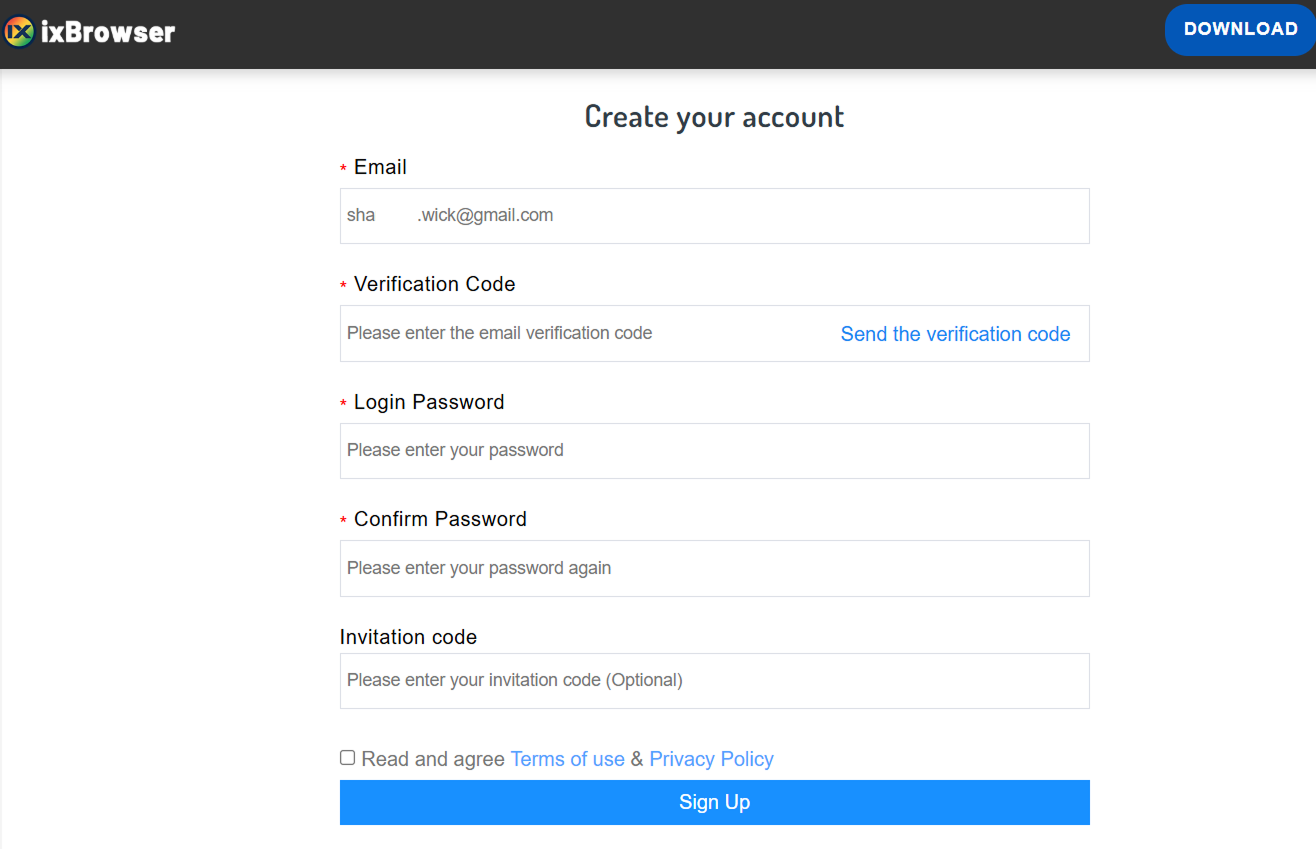
After installation, ixBrowser will direct you to the account creation page. There, enter the required details such as your email, username, and password, and click on Sign Up to complete the registration.
Step 3: Access Proxy Settings
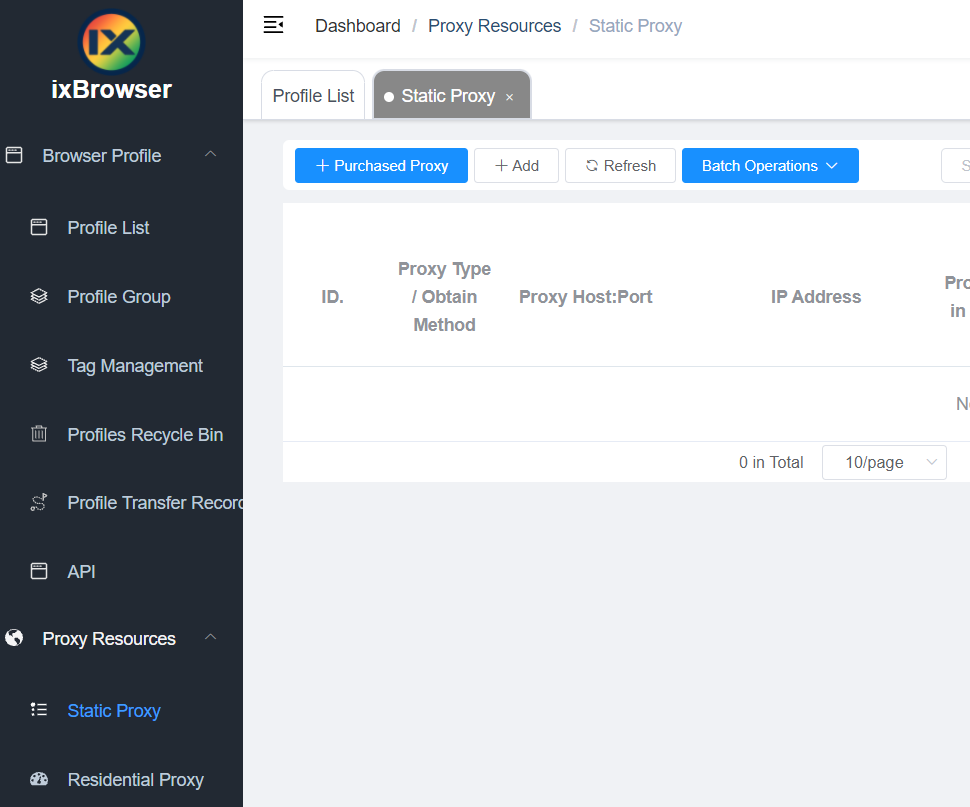
Once you have successfully signed up, you will be taken to the ixBrowser home page.
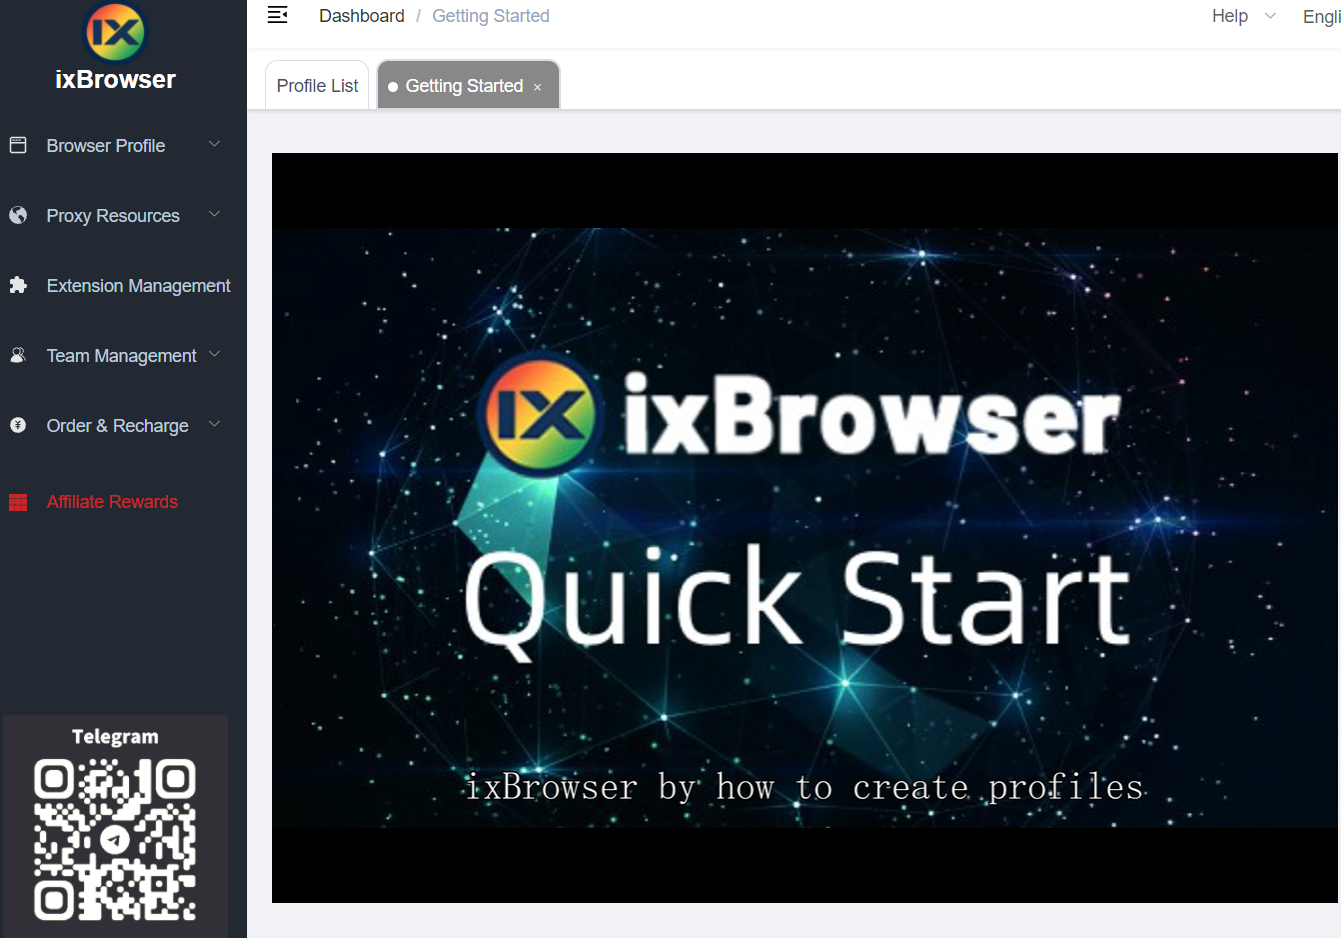
From the right navigation menu, select Proxy Resources. Then, click on Static Proxy to open the proxy setup screen.
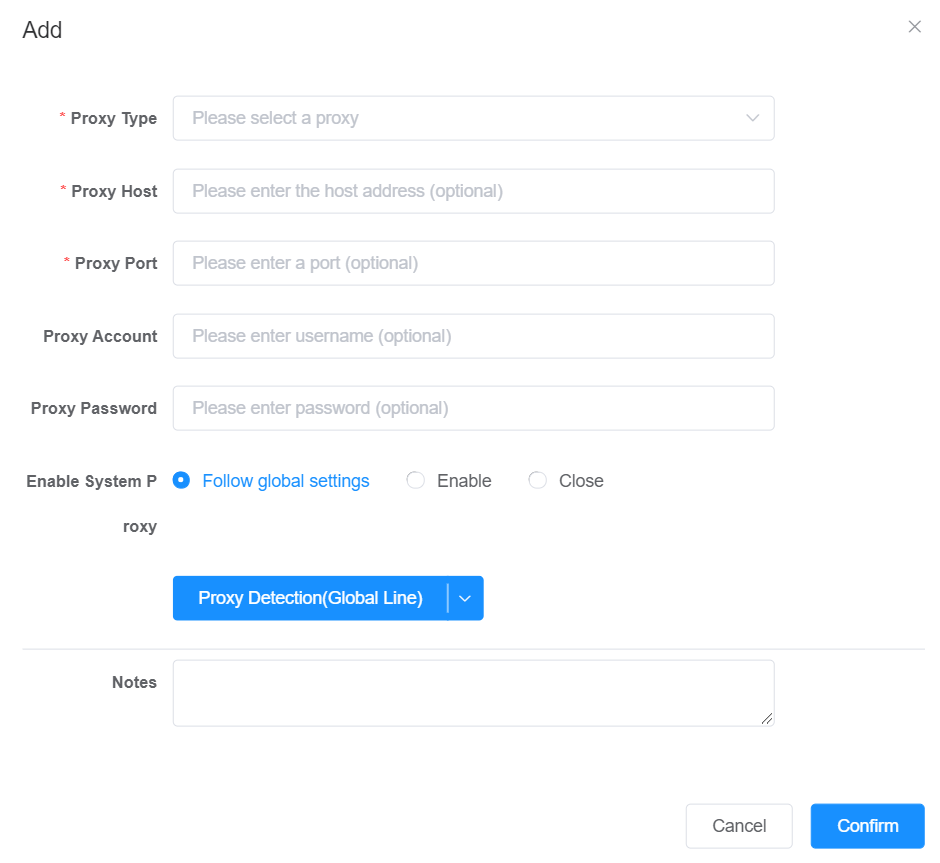
Step 4: Enter Proxy Details and Confirm
Fill in the required proxy details.
- Proxy Type - Select the type of proxy you are using.
- Proxy Host - Enter the host address of the proxy.
- Proxy Port - Provide the port number.
- Proxy Account and Password - If required, enter your username and password.
Once all details are filled in, click on Confirm to save the settings.
You have now successfully set up a single proxy in ixBrowser.
How to set up batch proxies in ixBrower?
Setting up batch proxies in ixBrowser allows you to add multiple proxies at once. Follow these steps to set up batch proxies.
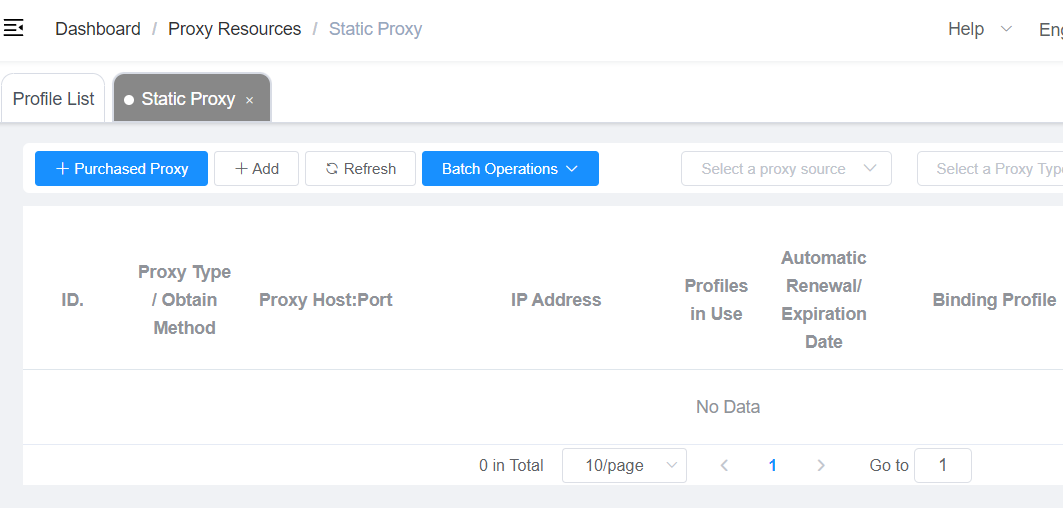
Step 1: Access Batch Proxy Settings
Go to the ixBrowser home page. There, from the right navigation menu, click on Proxy Resources and select Static Proxy to open the proxy management screen.
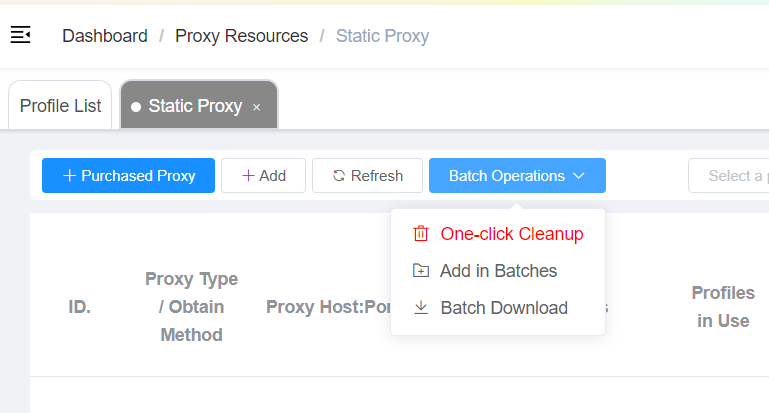
Expand the Batch Operations dropdown menu.
Click on “Add in Batches” to access the batch proxy setup screen.
Step 2: Enter Proxy Details in Batch
In the batch input field, enter your proxy details using the format below.
proxy IP:port:username:password
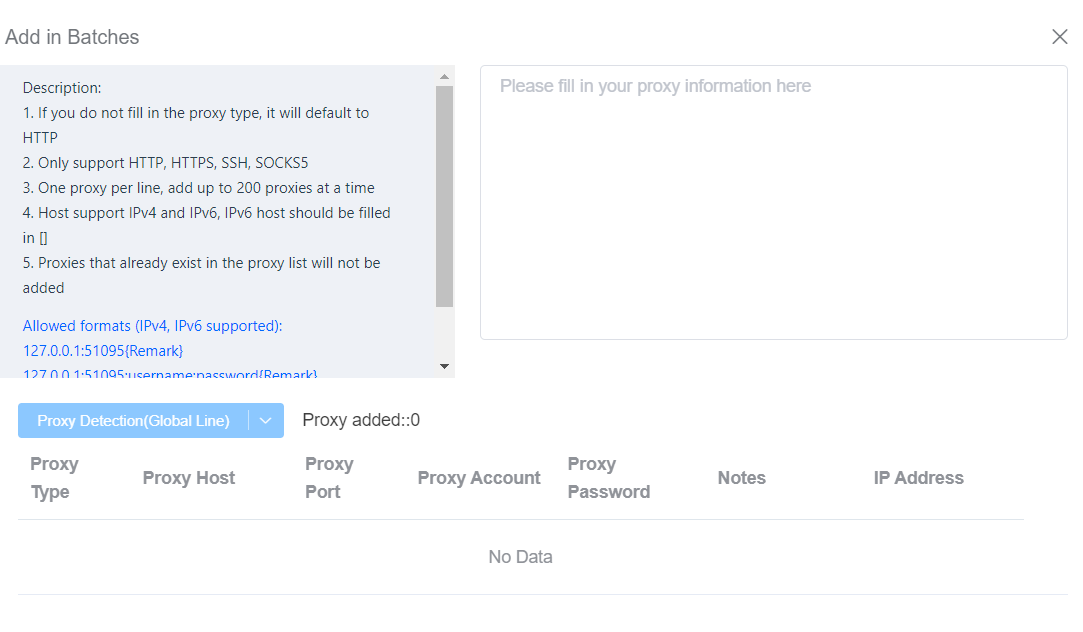
Each proxy should be on a new line. You can add up to 200 proxies at once.
The supported proxy types are HTTP, HTTPS, SSH, and SOCKS5.
If you don’t specify a proxy type, it will default to HTTP.
IPv4 and IPv6 are supported. If using IPv6, enclose the host in square brackets, for example.
[IPv6_address]:port:username:password
Step 3: Confirm and Review Proxies
After entering your proxy details, click on Confirm.
ixBrowser will automatically add the proxies and display them in a list as shown below.
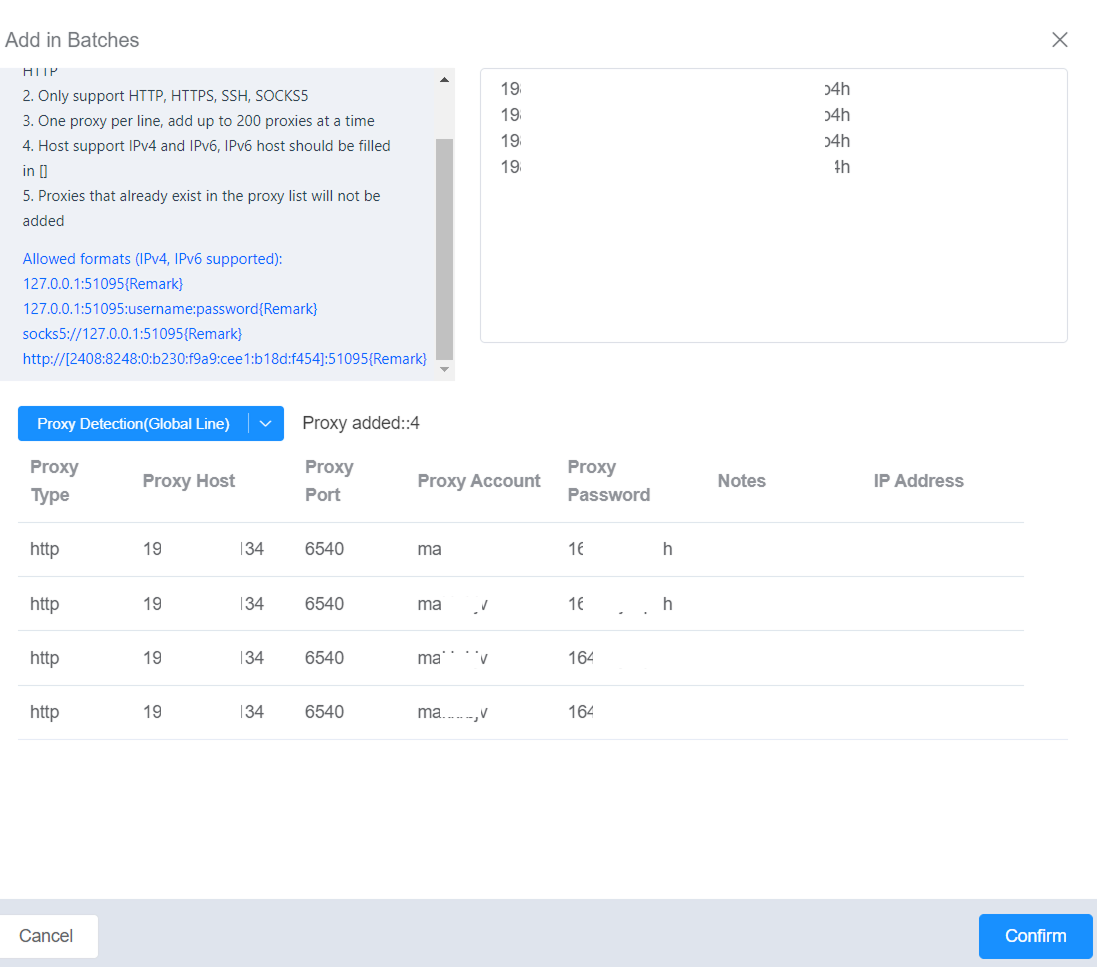
You have now successfully set up batch proxies in ixBrowser.


